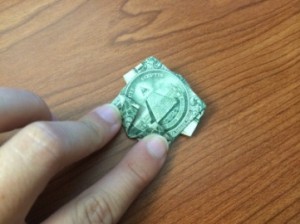
 Graduation season is upon us. In the next few summer months, you will most likey attend a graduation or birthday party, wedding, shower, or other social event. Providing a gift at these special occasions is common practice and what better a gift to give than cold, hard cash.
People typically appreciate cash as it’s tactile and can be used right away. Cash does not require a gift receipt and is typically never refused at any retail or hospitality environment. Custom greeting cards now exist to display cash, but what if you were able to make the cash presentation a little more exiting?
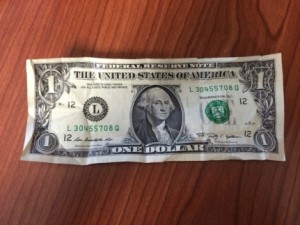
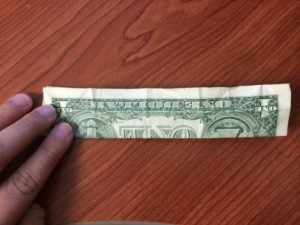
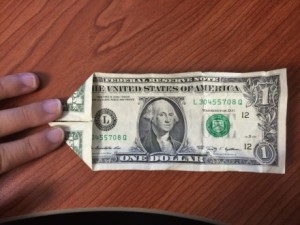
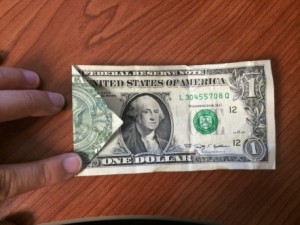
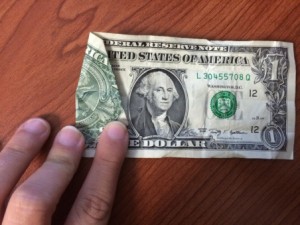
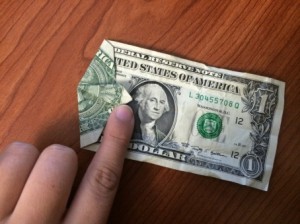
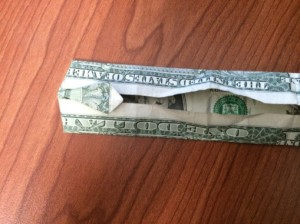
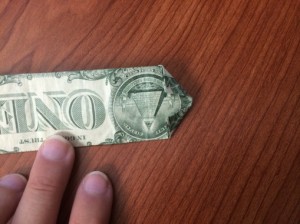
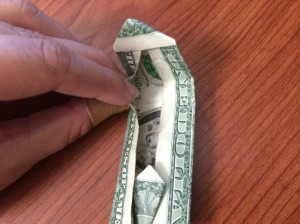
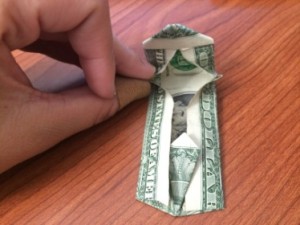
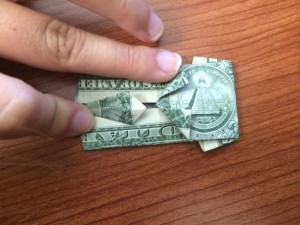
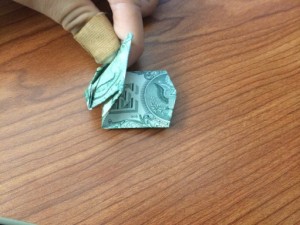
 Creating origami out of cash can make a present more personal and ten times more exciting for you, and the person receiving it. Money origami is quick and easy for someone who is looking to put some excitement in a birthday or graduation card. With money origami, you can create your design to match the event. For example, below are steps on how to make a shirt and tie out of cash. Perhaps this is to represent that the cash is to be used to buy new clothes. Other examples could be making a flower for an anniversary card or creating a person’s favorite animal– The options are endless! With just a little practice and following along with a few steps you could be a master in no time!
Here are some links to money origami sites:
http://www.origami-resource-center.com/money-origami.html
http://www.homemade-gifts-made-easy.com/money-origami.html
Click Here for a video tutorial on how to create a cap and diploma, very appropriate for graduation!

